If your pots and pans clank like a trash compactor every time you open the cupboard, or you’re never able to match your plastic dishes with their lids, this article is for you! We’ll take a look at the three most common challenges people face in organizing their kitchen, and we’ll offer you some solutions.
The kitchen is at the center of activity in the household. It’s the room everyone meets in at least once a day to share a meal or prepare their lunch. With all that action, it’s also one of the only rooms we need to clean every day. Cleaning the kitchen becomes part of our routine, but organizing it is a bit more difficult. A poorly organized kitchen can create pointless frustration. Organize your kitchen one step at a time. You’ll feel the benefits every day thereafter.
Before getting started, if you live with roommates, it can be difficult to instill new organizational regimes. One tool that can be a lifesaver: a portable labeller. You can clearly indicate on containers and shelves exactly what goes in them. Plus, it looks cool!
1. Plastic Containers
The classic plastic plates cupboard is an issue in (nearly) all homes. Why? Because contrary to what most blogs think, the average home doesn’t feature a magnificent collection of matching plastic dishes. They’re usually in every shape, colour and make. Yes – everyone has a few pieces that mysteriously appeared in their kitchens.
Start by getting out all your dishes and covers from your cupboard or drawer. Then put each dish with the dish that matches it. Whatever doesn’t match goes in the recycling. Get a few rectangular baskets and put all the lids inside.
Make sure to measure the available space to choose your basket. If you have a tall space, you can use a magazine rack as a basket. This option allows you to sort the lids according to size but takes a bit of discipline in the long run.
Make piles of all your dishes based on their sizes. You can now put everything back in the cabinet or drawer. It’s an easy and economical system to implement and easy to keep up once it’s in place because it’s so simple.
2. Spices
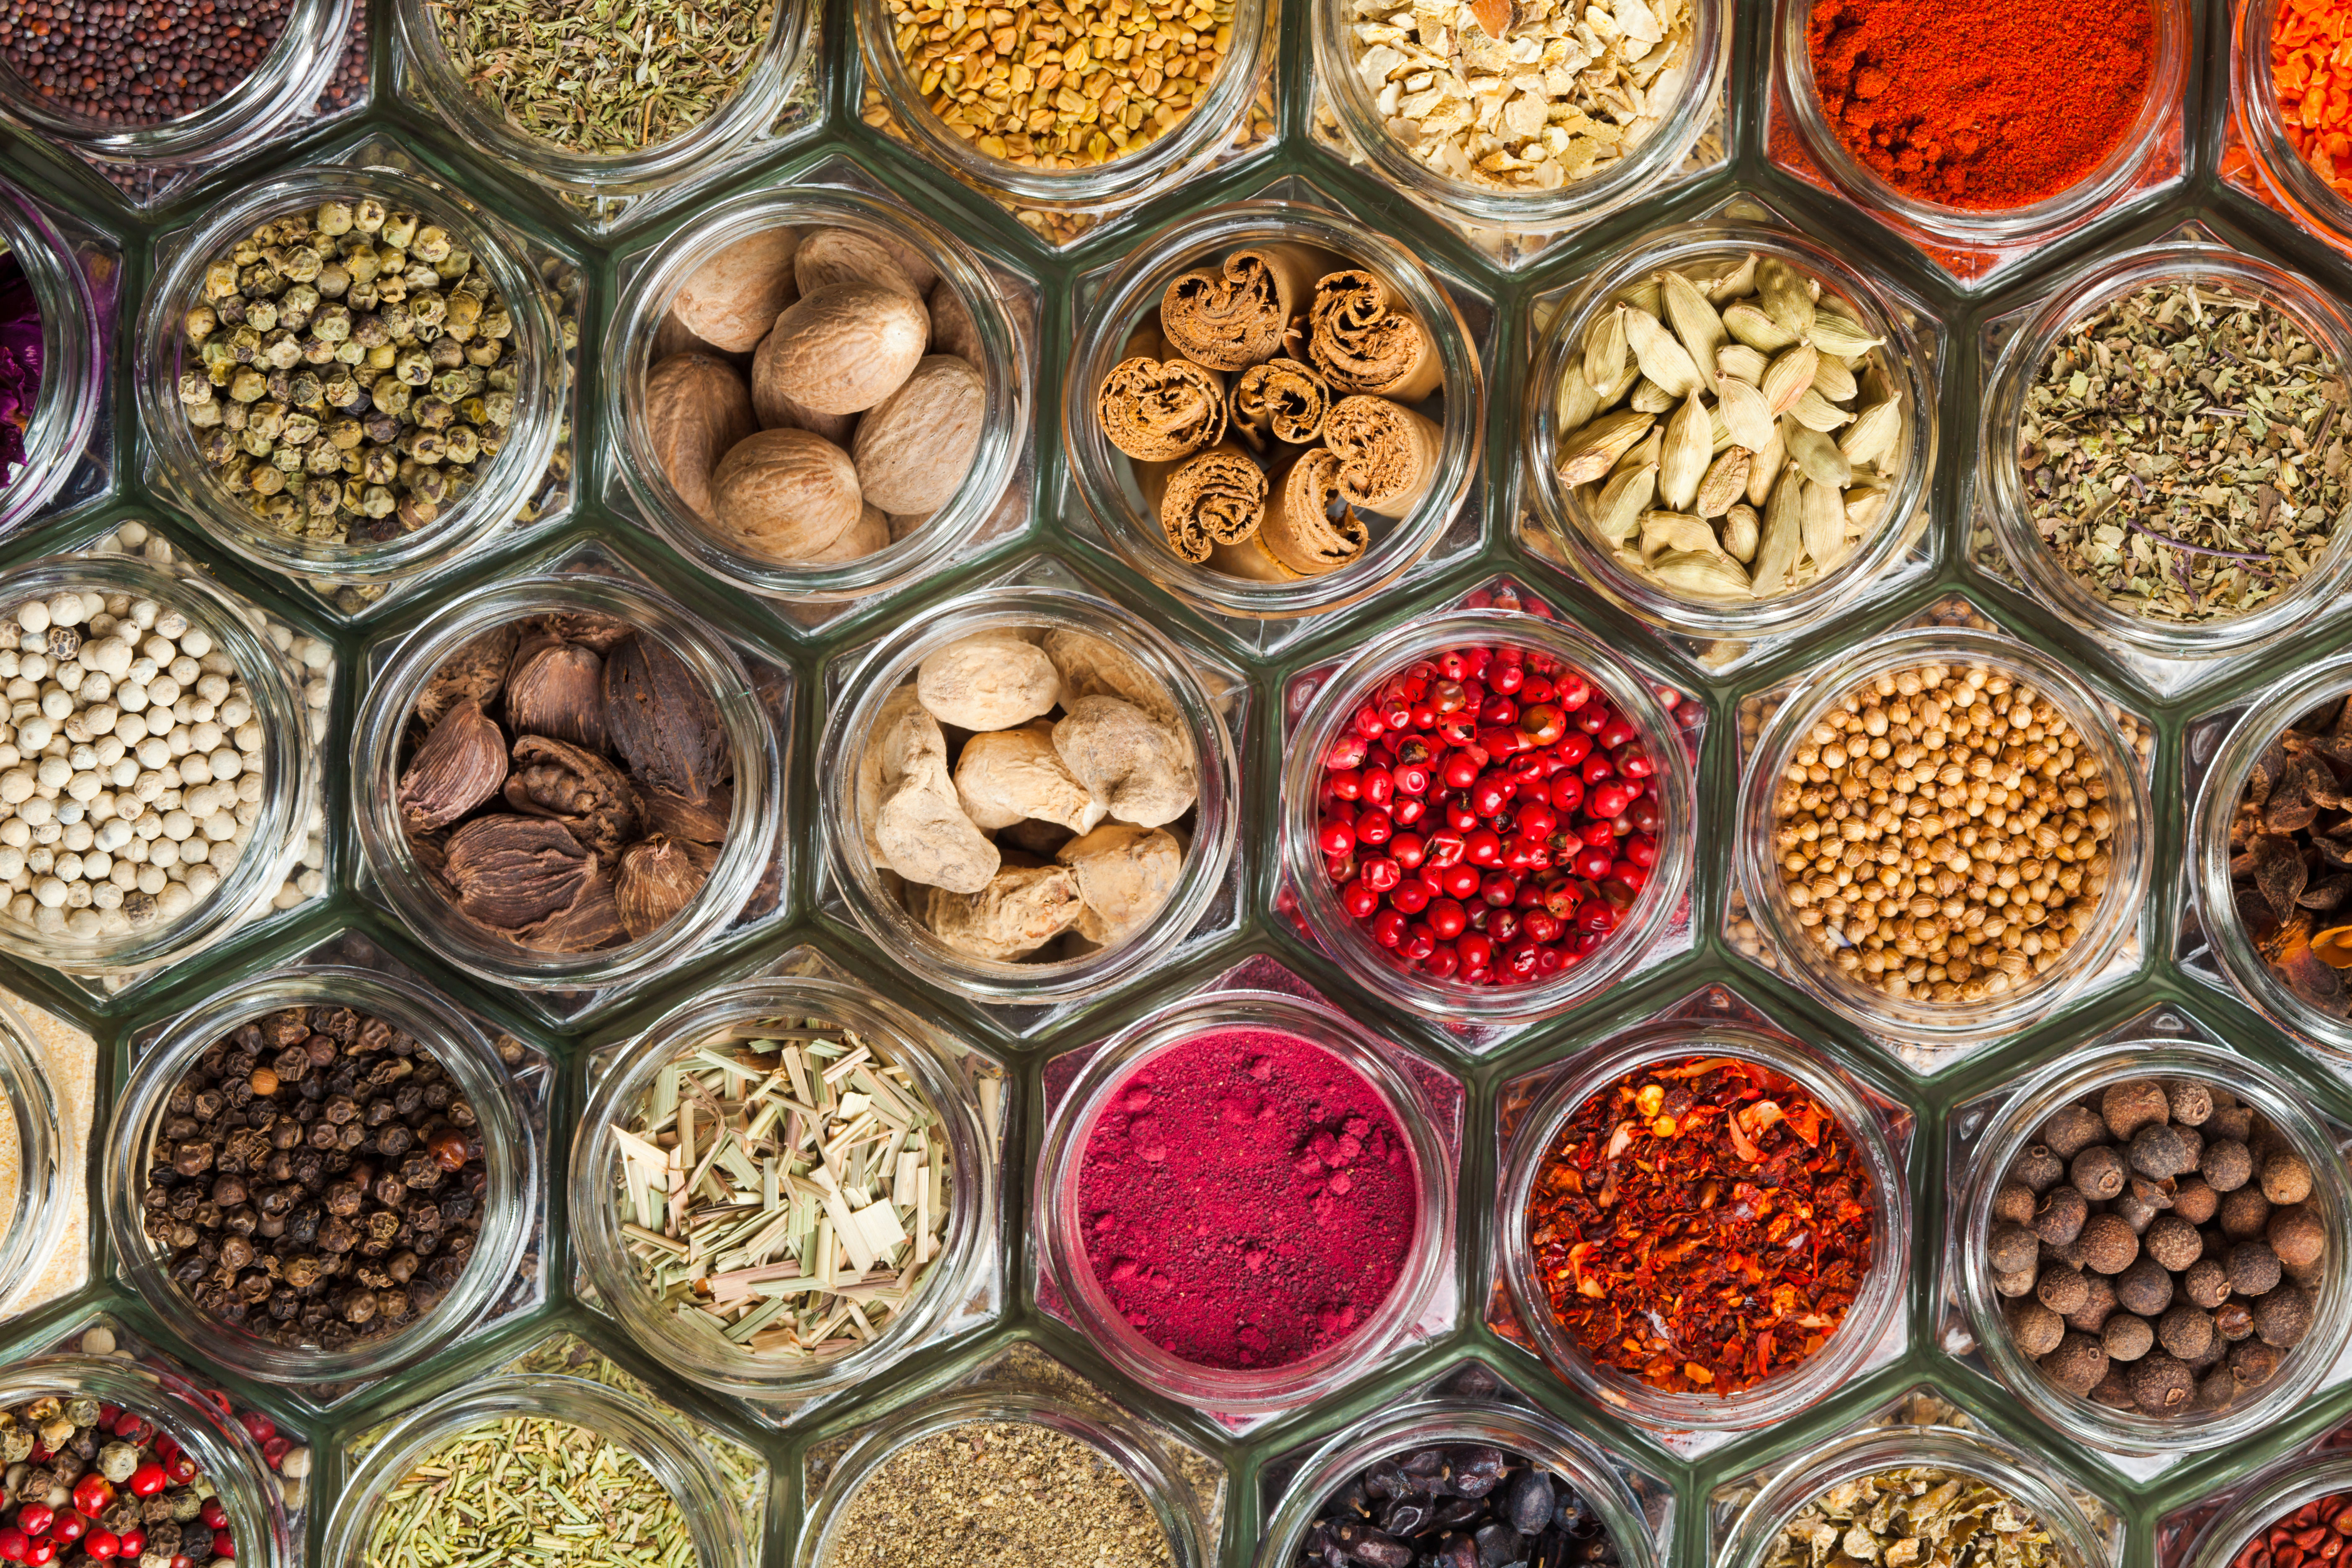
This when your portable labelling machine really comes into play. Depending on the number of spices you have, plan about to take 2 to 4 hours for this project. It’s the sort of task that’s easy to underestimate. So it can be disappointing if you don’t allocate enough time. But it’s worth the effort – we promise. You will need glass containers of any style you choose. Depending on your kitchen, you can choose a more rustic look like mason jars. For a more modern look, try hexagonal jars.
The first step is something you’ll want to do long term.
Unless you are the chef at a restaurant or have a family of ten, stop buying bulk spices. They lose their flavour in a couple of months – if you’re lucky. It’s time to say goodbye to bulk.
You are now ready to start the project. Remove all containers and spice bags from your cabinet or spice drawer. Get your label maker or an oil-based marker. Note the spice to be stored on each jar. Then use a funnel to pour the spice into the container. If you chose to use a marker on the glass, allow the ink to dry for a few minutes before handling the jar.
Wipe your cabinet or spice drawer. Once all the containers are filled and labelled, you can put them back. There – now that’s a proper spice rack. The simple act of organizing your spices will encourage you to discover new flavours and to cook more! If you chose the hexagon jars, you can add a magnet to the lid and place them on a magnetic plate on the wall. The result is a neat look, and having your spices at your fingertips inspires new recipes.
3. Pots and Pans
Don’t stop now: there’s a way to organize your worst kitchen nightmare. You won’t have to wake your neighbours when trying to get a pan from your cupboard. The first secret is to separate the pans from their lids to maximize space. The second is to use the doors of your cupboard as storage space. You only need to buy two things for this project: a raised shelf and two metal bars for each cabinet door.
The raised shelf will allow you to double the space inside your cabinet. As for the metal bars, they’ll be the lid hanger. All you have to do is install the bars inside the doors and slide the lids into them. They hold thanks to the handle resting between the door and the support. When you’re ready to start, remove all dishes and pans from the cabinet. Put the supports on the doors. Use the covers to gauge the distance between the two. This way, you can easily slide them between the door and the bar. After that, clean the shelves to freshen them up and rid them of dust from installing the bards. Place your raised as needed. Arrange the largest pots on the top shelf and the pans in the space below. Now you can quickly get to all your posts and pans!
Organizing your space is the first step towards a healthy home. Remember to do regular house cleaning to maintain a healthy environment. Our Pro team can help you achieve the ultimate cleanliness standards in Toronto and Montreal. These techniques will open your horizons in the kitchen. A well-organized space will inspire you to rediscover forgotten dishes and try new ones. Bon Appetit!
I WANT TO BOOK A CLEANING!